
I took a linoleum printmaking workshop in Austin! This post shares more about my favorite place to take creative classes.
I have been wanting to try linoleum printmaking for a long time. I was signed up for a workshop earlier this year (somewhere else) that got cancelled, so I’m glad I was able to make it happen this year.
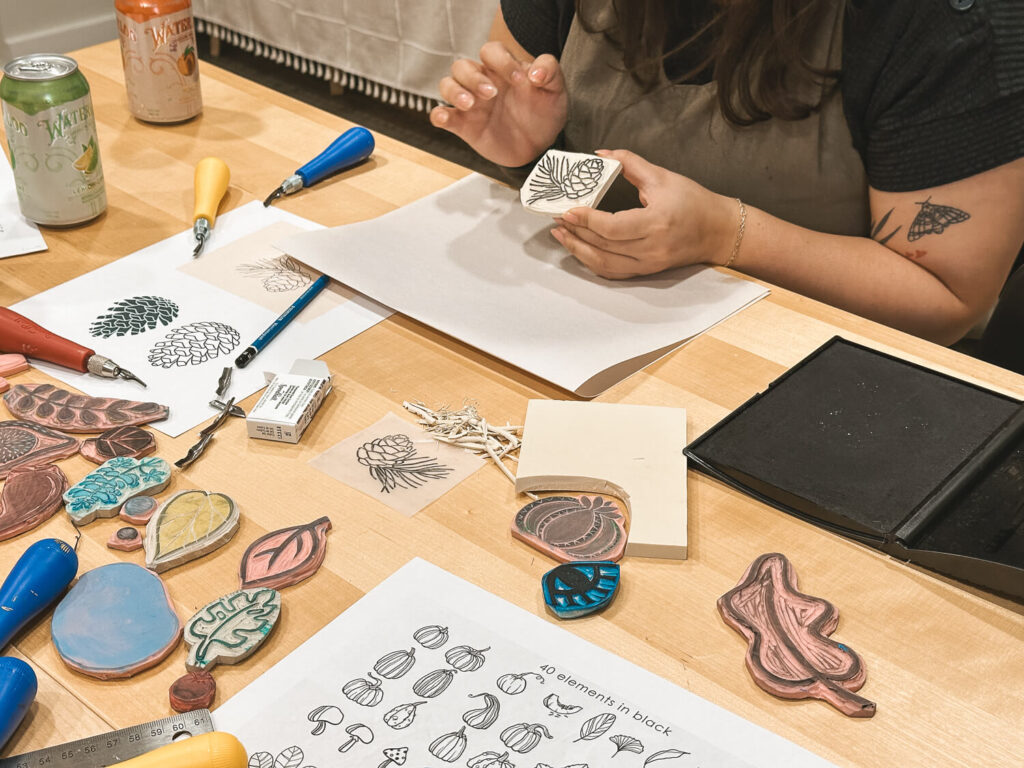
Audrey, one of the owners of 7th Street Candle Co, studied printmaking in college, so we got her expert guidance on how to do this.
7th Street Candle Co
But first, if you haven’t caught my other posts, I need to tell you about 7th Street Candle Co. It is one of my favorite shops in Austin because it carries cute gifts, many by local Austin artisans. They also sell their line of delightful candles.


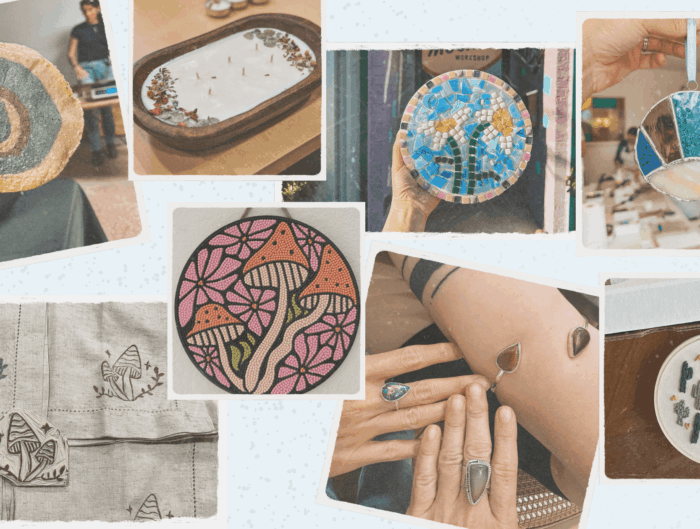
And there are workshops! They started with candle-making workshops and have expanded to hosting local artists to teach crafts other than candle-making. For example, some of their past workshops have included watercolors, terrarium building, and sewing. The shop also has a walk-in perfume-making bar.
Linoleum Printmaking Workshop
Ok, back to the workshop details.
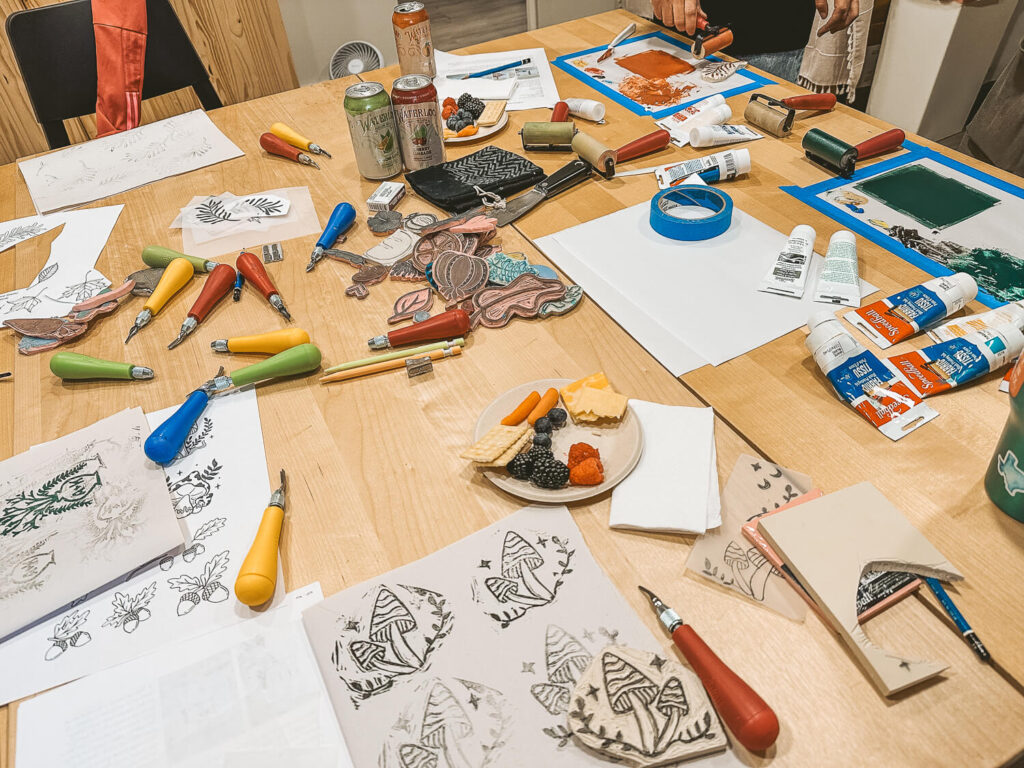
The workshop includes the use of all the tools necessary, like the linoleum blocks, carving tools, and ink. Audrey also walked us step by step through the process. I liked that it was an intimate class, so we could easily get guidance and feedback.
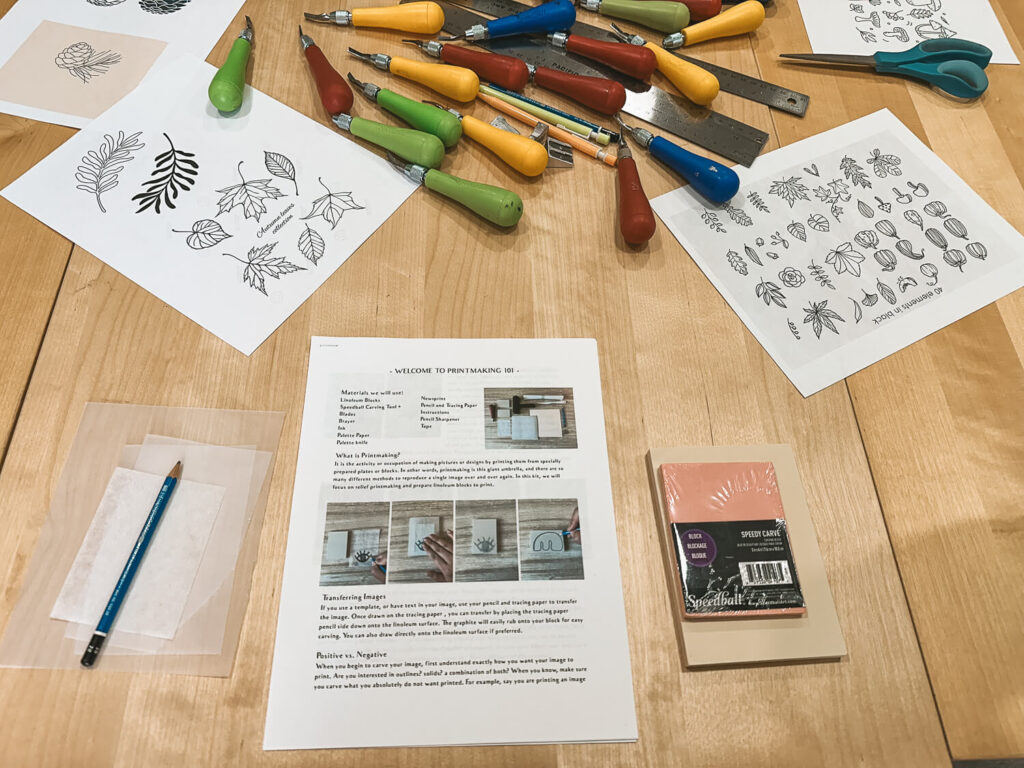
As I’ve noticed in the various workshops I’ve taken, ideation is something that can take a majority of the time. Since this was a fall-themed workshop, Audrey had prints of things in the fall theme, like leaves and mushrooms. We first traced or free-drew a design on tracing paper.
After completing our design, we rubbed this onto our linoleum block. The pencil easily transfers, and this was our guide when we started carving.
There are different-sized carving tools based on how fine the lines are and how much we need to carve away. The carving is the tricky part, making sure your lines are correct.


When we felt our carving was complete, we inked with a pad to test it out. This helped show where we needed to carve more. In the photo below, you can see three iterations of my block. As you can see, I could have left my print more “rustic” with the outside lines, which is a cool look, but for this one, I decided to make it very clean.
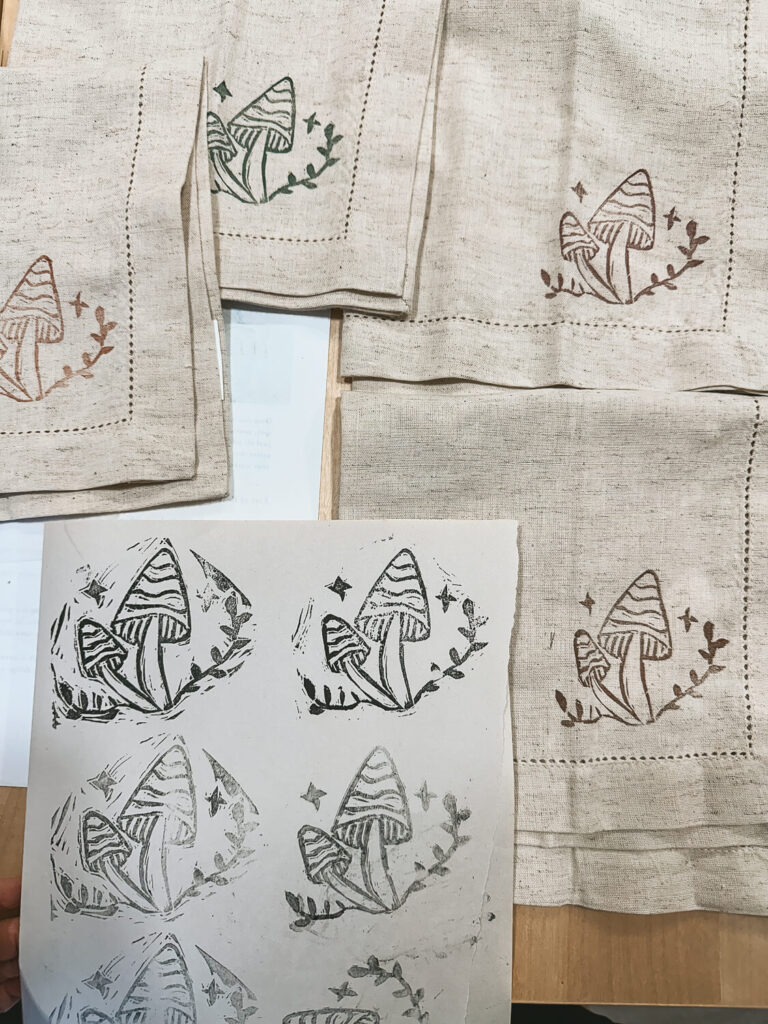
When we were satisfied with our final design, we inked our block with a brayer, a hand roller that evenly spreads ink. Audrey had mixed ink to create our requested fall colors – dark green, dark orange, brown, and dark red.


Ta-da! What a good-looking final product! We printed on a set of notecards and a set of napkins.


I’ve been following a handful of printmakers on Instagram, and after trying out this medium myself, I am in awe of the detail of their prints. It takes time and patience to create the beautiful prints I see.
I’m looking forward to exploring this medium more, so thank you to Audrey and 7th Street Candle Co for giving me a great introduction into how it’s done!
Ready to check out 7th Street Candle Co for their gifts and workshops? Visit their website to learn more.
7th Street Candle Co
507 W 41st St, Austin, TX 78751
https://www.7thstreetcandle.co
If you’re feeling inspired, check out some of these other creative experiences in Austin:
You might also like