We’ve been brewing kombucha for about two years now! As you’ll read, it saves us a bit of money, but the benefits are more than the finances.
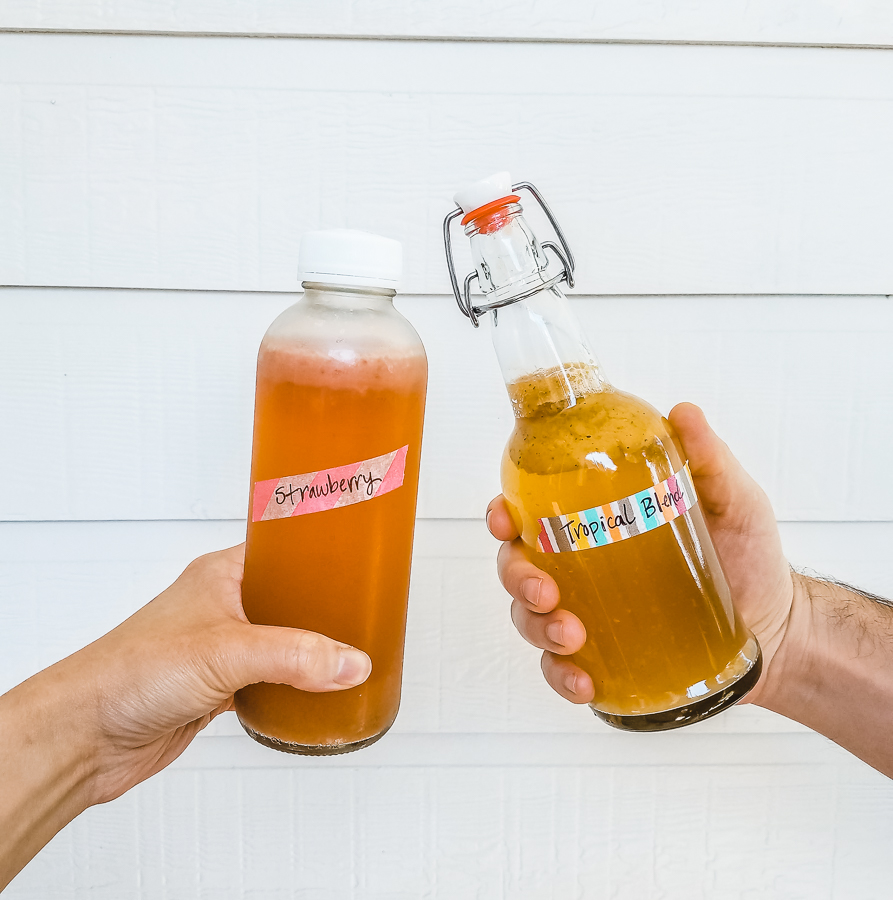
Kombucha 101
Let’s start at the beginning. What is kombucha? Kombucha is a fermented tea. Using a SCOBY (more on this later), the sugary tea will create gasses and acid (bubbles). The end product is bubbly and mildly vinegary.
Kombucha is good for your gut and has a lot of probiotics. That means the bacteria in the drink can combine with your body’s bacteria to become stronger. Kombucha is also a good alternative to soda.


How Did We Start Brewing Kombucha?
Around the beginning of the pandemic (March 2020), we were getting groceries curbside (placing an order online and picking up). We were going through multiple bottles of kombucha a week, which was delicious but also a bit wasteful. In April, I connected with someone in Austin who was giving away SCOBYs. We quickly gathered supplies and started brewing!
We read a handful of articles and watched some videos, but we mostly took the cooking route (feel with your heart) versus the baking route (measure everything). Aside from the 14 cups of water, one cup of sugar, and seven tea bags, everything else is flexible. Yes, this means our best batches aren’t replicated but they get close/better and we try different flavors.


Brewing kombucha is a fairly easy and low-maintenance project, and we’ve brewed 265 bottles since we began! We’ve had one or two questionable batches, flavor-wise, but overall, we’ve drunk a lot of homemade kombuchas and enjoyed the process.
If you’re curious, I calculated that every batch of six bottles costs about $4, which is 66 cents a bottle. (This is calculating the cost of tea, sugar, and fruit.) We used to buy kombucha for about $2.80 a bottle. This is about a $12.80 savings every month while wasting fewer bottles.
How to Make Kombucha
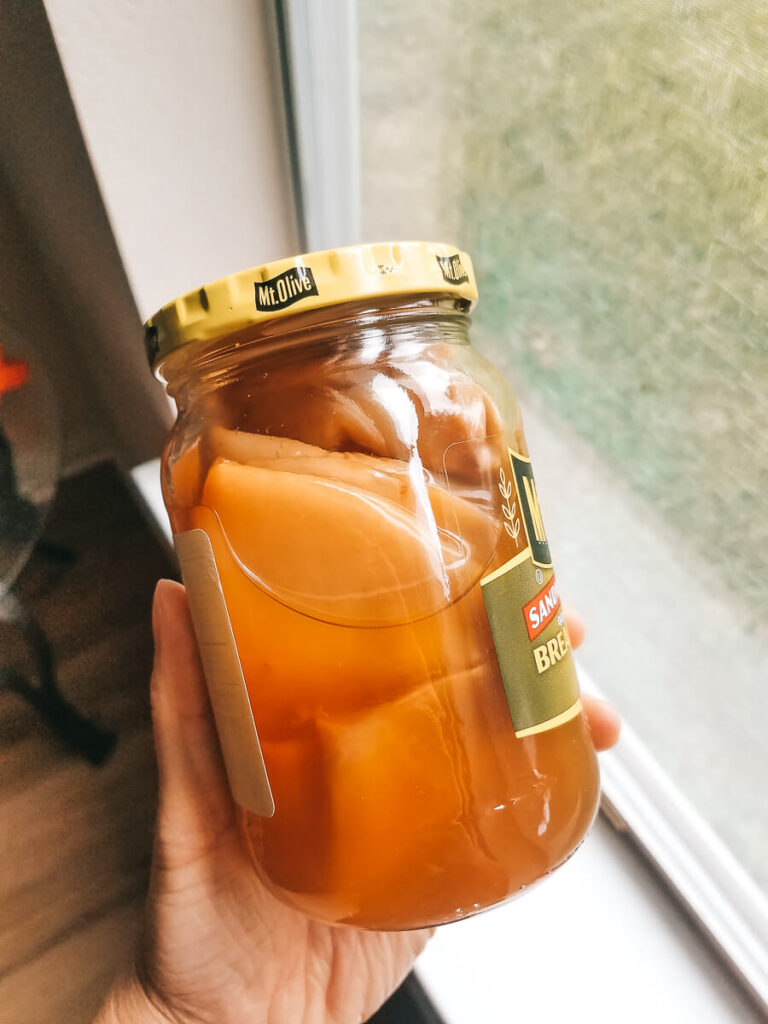
First, you need a SCOBY. This stands for symbiotic culture of bacteria and yeast. It looks like a white, dense, and slimy pancake. The easiest way to start is by getting a SCOBY with a bit of kombucha juice from someone (send me a message if you’re in Austin!) or you can buy it off the internet. A new SCOBY grows at the top of a kombucha brew, so SCOBYs are always being produced.
For the first fermentation, you’ll also need a big jar, small cloth, rubber band, bottling jars, sugar, and tea. Some notes on these things:
- Here is an easy kit to get that includes jars, cloth, and rubber bands. You can also reuse a big pickle jar and use any type of cloth, about the size of a face washcloth.
- Black and green tea are best for brewing. Don’t use herbal or flavored teas.
The first fermentation (7-10 days) will give you kombucha. The second fermentation (3-7 days) will infuse flavor into your kombucha.
First Fermentation (7-10 days) – Make Kombucha
- Bring 14 cups of water to a boil.
- Turn off the heat and dissolve 1 cup of sugar and add six or seven tea bags (or 10 grams of tea). Set a timer for 15 minutes.
- Remove the tea and let the tea cool. (I usually make the tea in the morning and it is cool by evening.)
- Add the tea to the big jar with the SCOBY and juices. Give it a stir. Place the cloth on top and secure it with a rubber band. Place the jar in a place at room temperature and without direct sunlight. (Ours is on the kitchen counter.)
- Check the kombucha in 7-10 days. You can usually smell it if it’s ready or you can give it a stir and take a sip.
- If you don’t want to infuse flavor, give your jar a swirl, bottle up your kombucha, and put it in the fridge. It’s ready to drink!


Second Fermentation (3-7 days) – Infuse Flavor
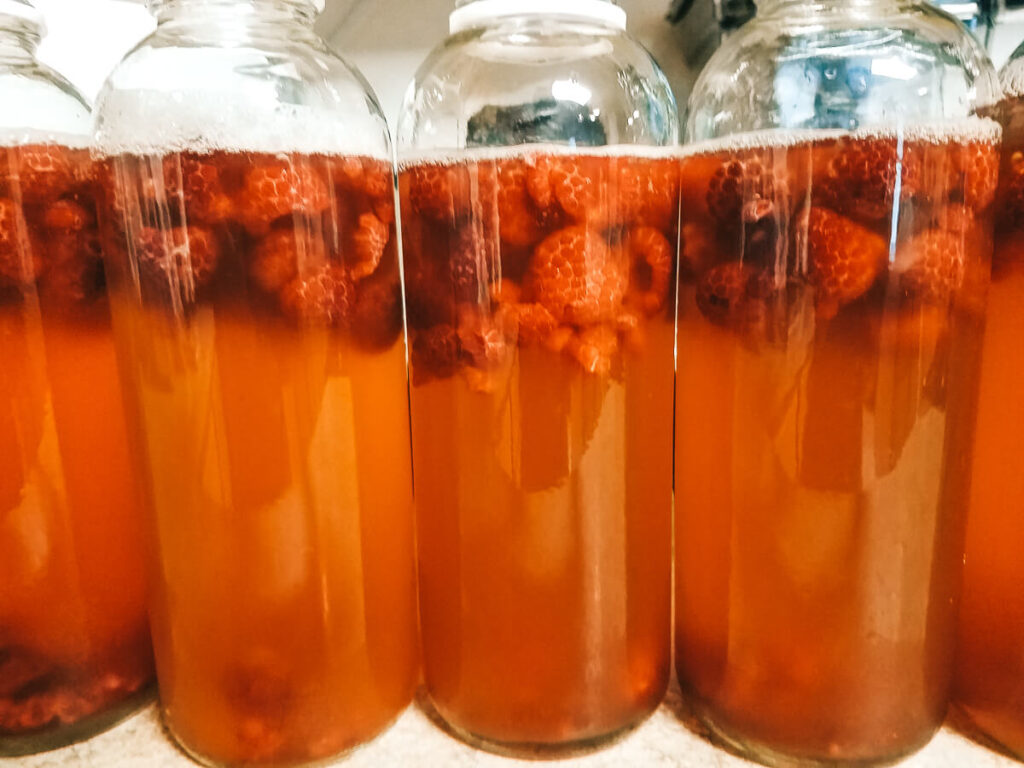
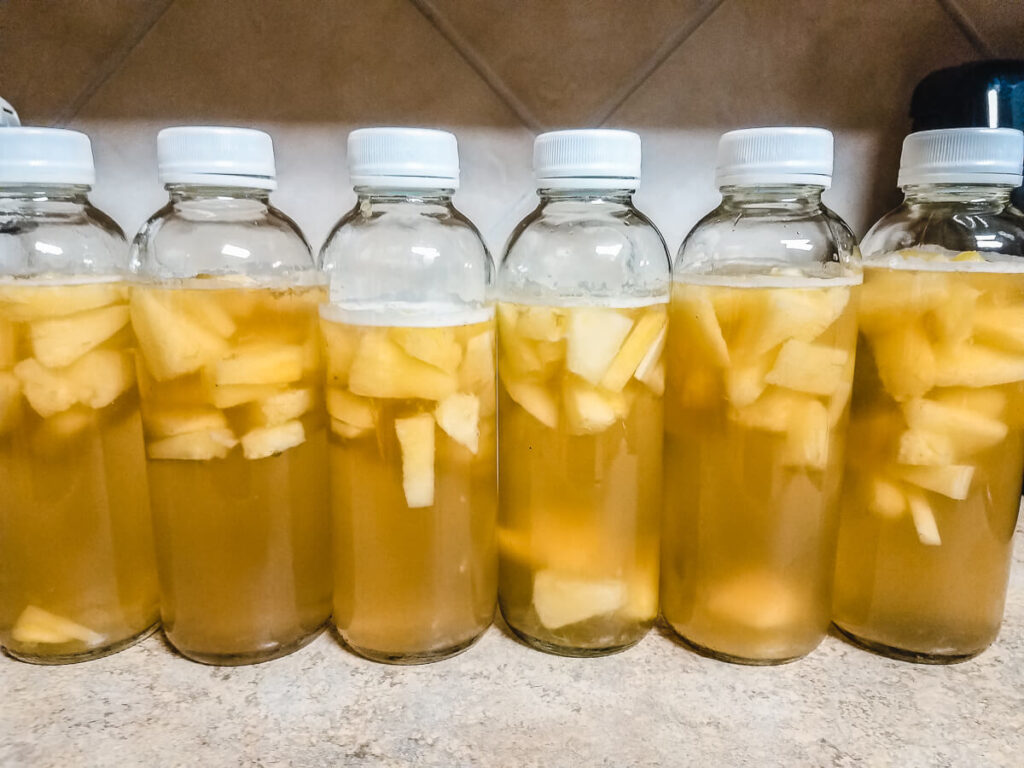
- Set out your jars (I usually have enough kombucha for six jars) and add your fruit. It can be juice or solid fruit. Use about a third cup of fruit. (I eyeball the fruit and it’s about a fourth of the bottle.)
- Screw the lid on tight and place in a room temperature, dark place for at least three days. You want the lid to be very tight.
- After three days, transfer a bottle to the fridge and when it’s cold, give it a try. This will let you know if all the bottles are ready for the fridge or if you want to let them ferment (for more bubbles) a little longer.


Quick Tips for Kombucha Brewing
- Brewing is a science experiment and differs from your unique SCOBY, how much fruit, etc. Keeping a kombucha journal will help you keep track. It can be as detailed or basic as you want it. Mine (see photo below) has the basic information to keep track of the time.
- Putting kombucha in the fridge will stop the fermentation process.
- Pop bottles were recommended but we found reusing kombucha bottles that you buy at the grocery is better. You’ll reduce waste and it’s easier to add fruit to these bottles with wider openings. Kombucha is more likely to explode out of pop bottles since you’re releasing pressure quickly at one time.
- To take the label off of kombucha bottles, add boiling water to the bottle to loosen the label adhesive. When you think you won’t burn your fingers (10-15 minutes), peel the label off. Scrub a mixture of baking soda and oil to remove the remaining stickiness on the outside.
- You can use fresh or frozen fruit in your kombucha. We found it tastes better with frozen fruit.
- Be sure to strain the fruit out before you drink it.
- My favorite kombucha flavor is pineapple ginger. Blueberry ginger and mango are also good flavors.


Kombucha continues to be one of my favorite beverages and I’m sure we’ll continue to brew many more bottles!
Here are some other posts about the fun I have in the kitchen:
